YouTube is the world’s most popular video sharing platform, in fact it is the most used social app and website in the world. Working on it can make you rich. However, YouTube has been updated so many times by 2024 that it cannot be estimated. YouTube has now become such a platform from where you can start your business. If you work on YouTube, YouTube will definitely give you money in return. Therefore, YouTube has become a source of income for people. So much can be earned from YouTube that it cannot be estimated. Everyone can create a YouTube channel. But not everyone knows the right way to upload videos. YouTube has given so many features and settings to upload videos. You can also give information about the video to YouTube first so that YouTube can send your video to the right people. So today we will know what is the right way to upload a video to YouTube. Before uploading the video, also know from where you will upload the video. You can upload the video from the YouTube app as well as from YouTube studio and also on the YouTube website. The right way to upload videos is used by big YouTubers, so today we are going to tell you the method.
1. Select video:
Before uploading the video, what to upload. Use the method to make sure, whether you want to upload a long video or a short video on YouTube, you should know in advance. From where you want to upload the video, you want to select the video from there, the video should be uploaded from the YouTube app because this is what big YouTubers do. To upload from the YouTube app, go to the YouTube app, click on the + icon and select the video. Select the time, YouTube will ask you, do you want to upload a video or a short video. After this, you select the video, then click on next, you will reach the page to add the description.
Choose the title of the video:
Before selecting it, think carefully because it will play the biggest role in bringing views to the video, so if you search for something, the title you have entered will be true. The title should be short and clear so that the reader can get an idea of the video. The video works like a title key word, so before entering the title, do search on the title. You can create title100 later.
Video thumbnail:
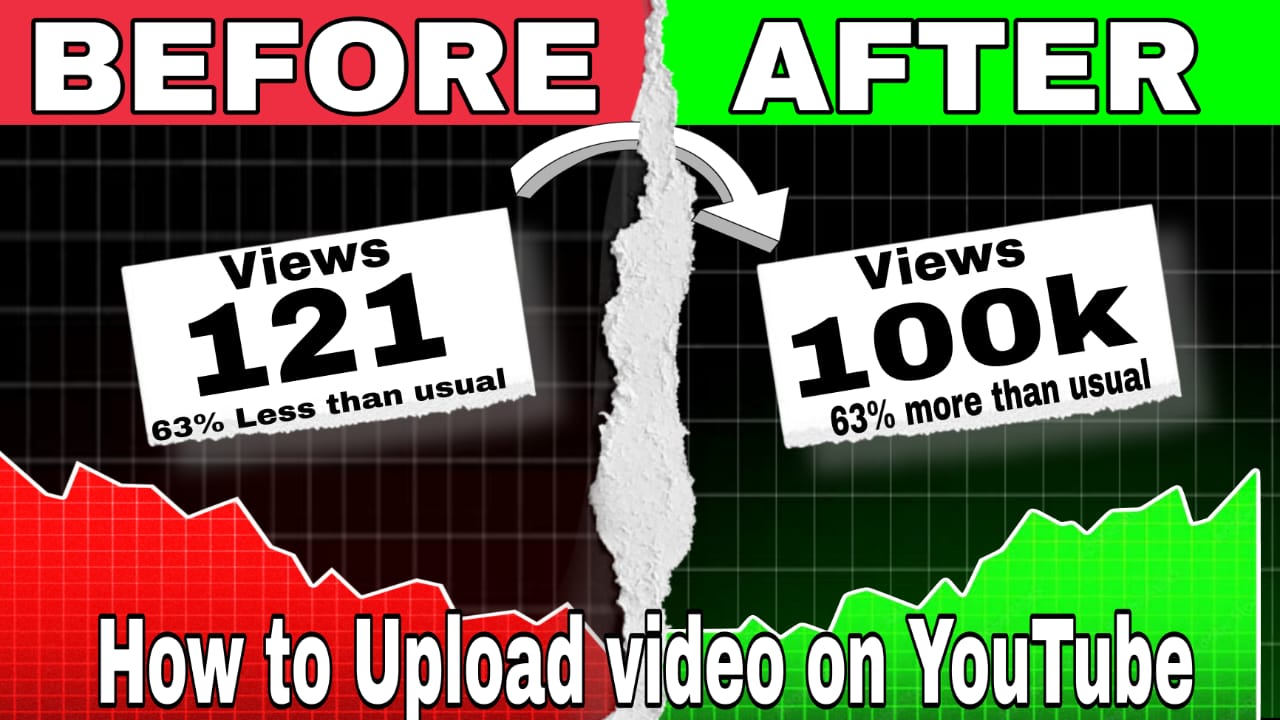
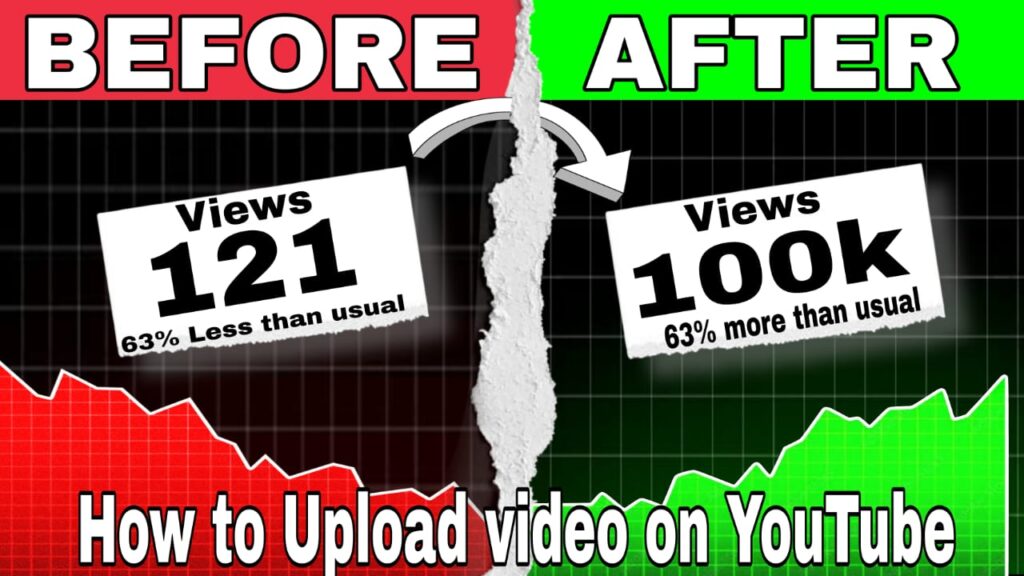
If you want more and more clicks on the video, then the thumbnail has to be made attractive so that the audience will see it, like if they see the thumbnail, they will definitely want to know what is inside the video. Thumbnail plays a very big role in making the video viral. If people never see them and nothing comes to their mind, then there are less chances of the video going viral. The better the thumbnail, the better the views.
How to add thumbnail: After choosing the video to add thumbnail, you will get the option of add detail. On the add detail page, thumbnail is automatically created along with your video. You have to remove it and put a new one there. On the default thumbnail, there will be a pencil icon. As soon as you click on it, the gallery’s background will open. From here you can add your thumbnail. Thumbnail size 1280 * 720 pixels Short video thumbnail 16:9 aspect ratio
Add Description:
To add description, click on add description on the add detail page. In the description, you can tell about the video. Along with that, you can also add your basic details. You can also give the link of your Instagram, Facebook, Twitter etc. In this, you can add keywords related to the video or you can also add hashtags. You can write up to 5000 letters in the description.

Visibility:
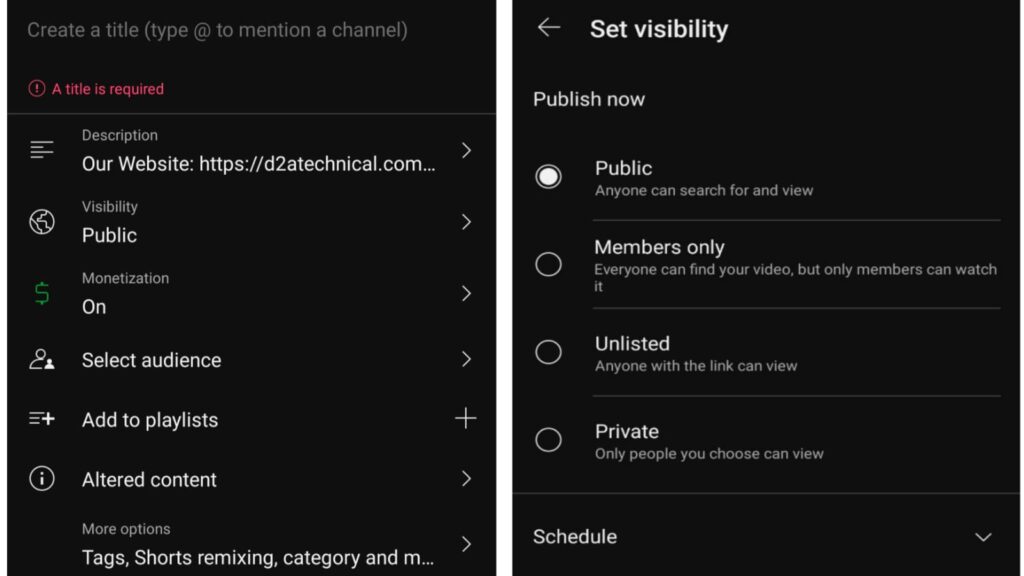
Setting visibility is also very important. Whenever you upload a video, unlist the video and then upload it because just uploading the video is not enough. A lot of settings have to be done for it like making it public and adding members and also listing it.
On making the video public: This video will reach your subscribers. The video should be made public only when you are fully ready to upload the video, that is, after doing all the settings, after adding all the tags, after adding hashtags, you will upload the video, only then you should make it public.
Members Only: With this function, you can make the video private and show it to whomever you want to show it. This is a paid option by joining the members. To become a member, you have to pay some amount.
Making the video unlisted: means that until you are completely confirmed to make the video public, until you unlisted it, the video will be uploaded but the video will not reach your subscribers and common people. When it is uploaded, only you can see it.
Private: By making the video private, the video will reach only those people to whom you want to show it.
Schedule: With this feature, you can send your video to people as per your convenience, that is, you can make the video public at a specific time.
Location: If you want to show a location in your video, then you can use this feature.
Add to playlist: If you have already created a playlist in which you want to add your video, then you can add your video to the playlist from Add Playlist, otherwise you can create a separate playlist from here.
Allow video and audio remix : If you are adding a short video then you can use this feature, with this you can add music to the video and increase or decrease the background music, you can also use this in long videos for background music.
Add paid promotion label : If you have promoted any ad in the video, then for that you will have to click on Yash here, otherwise you can click on Joe.
Comment box : If you want people to comment on the video, then you can turn on this comment box, otherwise turn it off
YouTube Studio Settings : Before uploading a video, there are a lot of settings to be done, which we can also do from YouTube Studio. YT Studio also has its own options for description, visibility at playlist, and alternate content. There is something new in it like monetization, audience, more option, take categories, show how many views like this video, and allow embedding.
- Monitization : If your channel is monetized then this option will be showing to you, otherwise it will not be showing, you can turn it on.
- Audience : If your video is only for children then you can do yes, otherwise do this
- Age restriction (advance): If your video has adult content then you can use this function
More Option:
- Tag: You can enter tags and keywords related to your video here. Tags and keywords are also important because it helps in ranking your video and it appears higher in many searches.
- Category: With this option, you can select the history of your video, that is, you can tell what your channel is related to.
- Show like: With this you can hide the text on your video.
YouTube video upload settings on Chrome: The best way to upload videos is to upload videos sequentially or from Google. You can also do it from your phone. For this, you will have to open the mobile in desktop mode in chrome settings. You can directly upload videos through it. The settings that you get on Google, you will get them on the YouTube app and the YouTube studio app. So, if you don’t want to do it on both of them, you can directly upload it from Google. The advantage of this is that now instead of opening two apps, you can upload your videos from just one Google account. For this, you will have to keep your Gmail account logged in on Google and you can upload the video by going to the YouTube site.
Features on Google Chrome:
- Video title
- Description
- Visibility
- Playlist
- Audience
- Paid promotion
- Altered content
- Tags
- Short remixing
- Category
- Comments
- Show how many views like this video
You will not get this feature on YouTube mobile app and YT Studio app.
- End screen: With this feature, you can show your other video on the screen at the end of your YouTube video so that the other person can watch your other video as well.
- Cards: With the Cards feature, you can show the “I” button in your video. You can give the link of any of your videos in this button. You can use this feature at any place in the video. Also you can add playlist, channel list and any link in the “I” button.
- Language and caption Certification: With this feature you can add language to your video. You can write automatic captions.
- Recording date and location: Add when and where your video was recorded, viewers can search for video by location.
- License and distribution : 1. Standard YouTube license 2.Creative common attribution (”I choose the Standard YouTube license to upload videos”)
- Subtitles : You can add subtitles in YouTube Studio on Chrome without any third-party apps
- Editor : From here you can also edit the video in which you will get all these features:
- Trim & cuts
- Blur
- Audio
- End screen
Flex Card Google Pay with Axis Bank has launched a UPI-powered digital credit card.
How to Increase Mobile Phone Battery Health? (Full Detailed Guide)
10 Crazy Samsung Galaxy Features – Next Level Using Phone

22 सितंबर 2025 से नया टेक्स नियम लागू ये होगा सस्ता या महंगा ? GST 2.0

Instagram Trending CHATGPT AI PROMPTS Photo Editing